Most brands only discover they needed a style guide after their second shoot. The new images arrive, they go up next to the old ones, and something is off. The backdrop is a touch warmer, the camera sits lower, the jackets are framed tighter than the tees. None of it is wrong on its own, but together the store looks like it was put together by different people. Usually, it was.
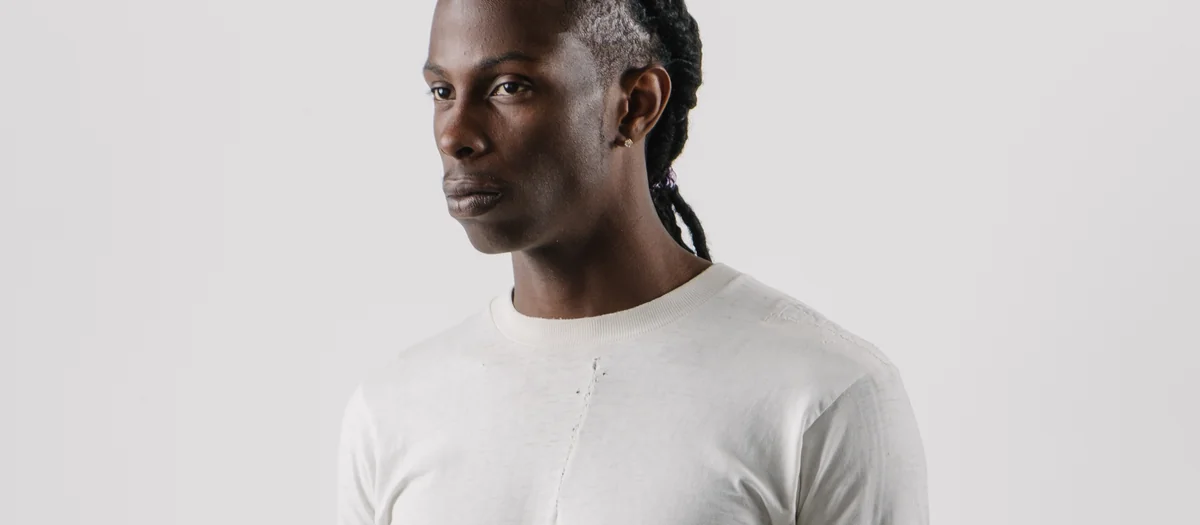
A photo style guide fixes that before it happens. It's a short, plain document that answers the questions a photographer, retoucher or new team member would otherwise have to guess at. This post walks through what we suggest putting in one before a product shoot at Vidd Studios, and how to keep it useful afterwards. The white tee at the top of this page, from our e-commerce work, is the kind of look a good guide makes repeatable: same backdrop, same light, same framing every time.
What a style guide is (and isn't)
A style guide is a decision record. It writes down the visual choices you've already made, so they don't get remade differently on every shoot.
It isn't a moodboard. A moodboard collects inspiration and says "something like this." A style guide says "exactly this": this backdrop, this camera height, this much space around the product. You'll want both, and the moodboard can live inside the guide as a reference section.
It also doesn't need to be long. A single page with a handful of example images beats a forty-page PDF nobody opens.
Planning a shoot in Los Angeles?
Tell us about your products and preferred date and we'll send a full quote.
NOW
The sections worth writing down
Work through these in order. Each one is a question someone will otherwise ask on set.
1. Backdrop and shadow
Pick the backdrop for catalog images (pure white, light gray or a brand color) and one shadow style: soft contact shadow, no shadow, or reflection. Our white background guide explains the trade-offs.
2. Light and mood
Describe the feel in a few words, such as bright and even, soft and warm, or crisp with defined shadows. Attach one reference image that nails it. Words alone are open to interpretation. A picture isn't.
3. Angles per product type
List the frames each type of product gets, in order. For example, a tee might get front, back, detail and folded, while a bag gets front, side, inside and strap. This becomes your shot list template and keeps every product page in the same rhythm.
4. Framing and crop
Note how much of the frame the product fills, where it sits, the final aspect ratio and how much breathing room goes around it. If your store crops thumbnails to a different shape than the main image, say so here so nothing important ends up cut off.
5. Color
Name your key brand colors and how strict color matching has to be. If certain products are hard to match, such as dyed fabrics or cosmetics, flag them and plan to send physical samples to compare against.
6. Styling and prep
Decide how garments are presented (on model, flat, or both), how tags and packaging are handled, whether props are allowed and which ones. Write down prep standards too: steamed, de-linted, stickers removed. Our shoot prep checklist is a good starting list.
7. People, if any
For on-model work, note poses that suit the brand, how much of the model is shown, expression and hair and makeup direction. Keep it practical. "Relaxed, natural stance, no hands on hips" is more useful than "aspirational."
8. Retouching level
Say what gets edited and what stays real: dust and lint removal, backdrop cleanup, shape correction, skin retouching, color matching. Being explicit avoids images that look over-processed next to earlier ones. How Much Retouching Do Product Photos Need? breaks down the levels.
9. Files and delivery
Record the file format, pixel size, color space and naming pattern your team or platform expects. Something as simple as brand, product, color and a running number works, as long as everyone uses the same order. If a sales channel has its own image rules, link to that channel's help page rather than copying numbers that may change.
Build it in an afternoon
You don't need a designer or a template to get started:
- Gather your best existing images. Pick five to ten you'd happily publish again, and note what they have in common.
- Pull a few references from brands whose photography you admire, and write one line on what you like about each.
- Answer each section above in a sentence or two. Leave a section blank if you genuinely haven't decided yet. That's a question to raise before the shoot.
- Add one "do" and one "don't" image to the sections that matter most to you.
- Share it with everyone who touches your images: photographer, retoucher, whoever uploads to the store.
Bring it to the shoot
A style guide pays off most on the day. With one in hand we can set the lighting and camera position to match from the first frame, check early test shots against your references, and keep later products consistent with the first ones. It also shortens the conversation about edits afterwards, because the target is already written down.
When you fill in the Request a Shoot form, include:
- A link to your style guide, moodboard and shot list (Google Drive, Dropbox or WeTransfer).
- Your product list with counts, colorways and the angles from your guide.
- Where the images will be used: your store, a marketplace, social or ads.
- About how many images you want retouched, and your preferred shoot date, time and turnaround.
If you don't have a guide yet, that's fine. Tell us where the images will live and send a few images you like, and we can help you pin down the decisions before shoot day.
Keep it alive after the shoot
A style guide that never changes slowly stops matching what you publish. After each shoot:
- Add the best new frames as references, so the guide shows your current look.
- Write down any decision made on set, like a new angle for a new product type.
- Date each version, so everyone knows they're working from the latest one.
- Review it before each new season or launch, especially if your store design changes.
What it costs to shoot to a style guide
Having a guide doesn't change our published pricing, though it usually makes the day more efficient. Product photography is quoted per project via the Request a Shoot form, based on item count and frames per item. Retouching is $40-$60 per image, with Standard (8 business days) or Rush (4 business days, rush fee applies) turnaround. For larger productions, our Half-Day vs Full-Day post explains the two packages. Vidd Studios is based in Covina and works with brands across LA County. See product photography in Los Angeles for examples of consistent catalog work.
Frequently asked questions
What is a product photography style guide?
It's a short document that records how your brand's product images should look: backdrop, light, angles, framing, color, styling, retouching and file details, plus a few reference images.
How long should a photo style guide be?
One or two pages is usually enough. Clear decisions and a handful of example images are more useful than a long document.
Do I need a style guide before my first shoot?
It helps, but it isn't required. If you don't have one, share where the images will be used and a few references you like, and we can help you make the key decisions before the shoot.
What's the difference between a moodboard and a style guide?
A moodboard collects inspiration. A style guide records the specific rules you've chosen. A good guide often includes a small moodboard as its reference section.
How do I send my style guide to Vidd Studios?
Add a Google Drive, Dropbox or WeTransfer link in the Request a Shoot form, along with your product list and shot list.