Put a polished ring, a perfume bottle or a gloss-laminated box in front of a camera and you're not really photographing the object. You're photographing the room it reflects: the lights, the ceiling, the tripod, sometimes the photographer. That's why shiny products are some of the most fiddly items on any product shot list, and why they're worth planning for separately.
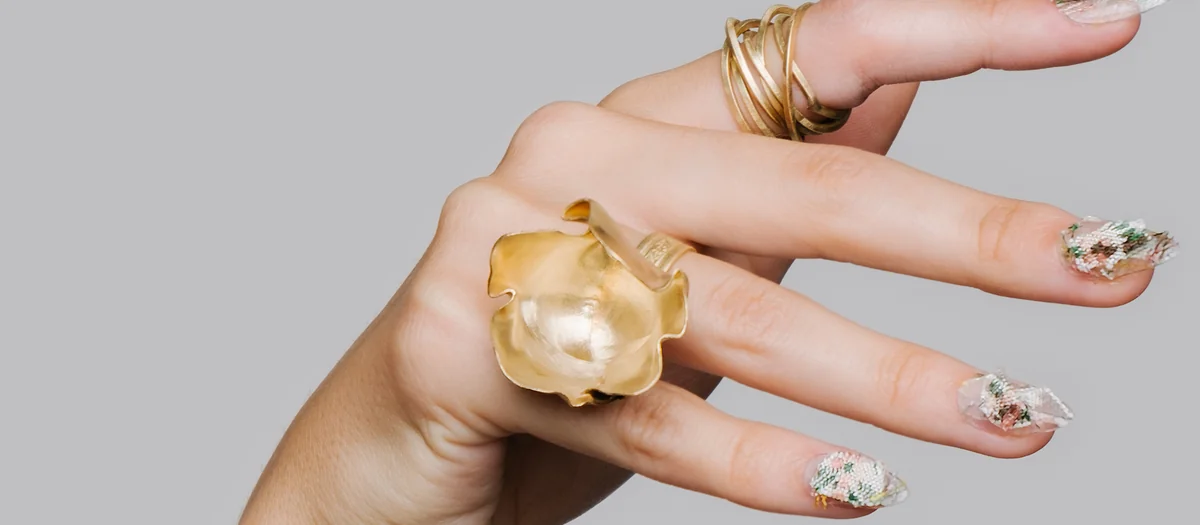
This post explains how we approach reflective products at Vidd Studios, from the gold statement ring at the top of the page to bottles and coated packaging. It's written so you know what to expect on set and what to prepare, not as a gear list.
Why shiny products behave differently
A matte object scatters light, so it looks roughly the same from any angle. A reflective one bounces light back like a mirror, so what you see depends on what's facing it. Two results follow:
- The product's shape is drawn by its reflections. A curved metal surface looks flat and gray if it reflects nothing, and looks round and solid when it reflects a soft band of white next to a band of dark.
- Anything in front of it shows up. The camera, a window, a colored wall or a person in a bright shirt can all appear in the surface.
So instead of fighting reflections, the set is built to give the product the reflections you want.
Planning a shoot in Los Angeles?
Tell us about your products and preferred date and we'll send a full quote.
NOW
Choose what the product reflects
Big, soft light sources
Large diffused panels create long, smooth highlights on bottles and cans. Small, hard lights create pinpoint sparkle, which suits jewelry facets but looks harsh on a smooth bottle.
White and black cards
White cards add highlight edges. Black cards add the dark lines that make glass and chrome look defined. Most shiny products look best with both, placed with intent, like a strip of white down one side of a bottle and dark along the other.
A clean surround
The area around the product is kept plain so nothing random turns up in it. Sometimes that means a tent of diffusion around the item, sometimes a cutout in a card for the lens to look through.
Angle and position
Small moves matter a lot. Tilting a box a few degrees or raising the camera slightly can push a glare off a logo. We usually adjust the product and cards before reaching for more lights.
Glass: edges and clarity
Clear and colored glass needs light coming through it, not only bouncing off it.
- Backlit glass on a bright background gives crisp dark edges that outline the bottle.
- Glass on a dark background with light from the sides gives bright edges instead, for a more dramatic look.
- Liquids read better when light passes through them, so a perfume or tinted serum is lit from behind to show its color.
- Labels on clear bottles may need a separate frame lit from the front, merged later.
Metal: gold, silver and chrome
Polished metal reflects everything, so the cards around it effectively become the product's color and shape.
- Gold keeps its warmth when reflecting clean white and soft warm tones. Reflecting cool gray or blue makes it look brassy.
- Silver and chrome need clear contrast between light and dark reflections or they flatten into gray.
- Brushed metal is more forgiving and spreads highlights into soft streaks.
- Jewelry usually mixes soft light for the metal with a few small highlights for stones. Our jewelry shot list covers angles and on-model frames.
Glossy and coated packaging
Gloss-laminated boxes, lacquered lids and shiny pouches have the same problem on a flatter surface. One window-shaped highlight can wipe out the brand name. The fix is usually a slight angle away from the light, a larger and softer source, and cards to block reflections over the print. For cosmetics compacts and lipstick tubes, our cosmetics photography guide has more on shaping highlights.
Prep is half the job
Every fingerprint, hairline scratch and speck of dust shows on a shiny surface, especially in close-ups.
- Send the cleanest units you have, ideally fresh from packaging, plus a spare if possible.
- Leave protective films on until the shoot, and tell us if the product has any.
- Handle with gloves once items are unwrapped, so they arrive without fresh fingerprints.
- Flag any known flaws, like a molding seam or a small scratch, so we can angle around it or plan the fix.
Our product prep checklist has the general list for any shoot.
What retouching handles
Even with careful lighting and cleaning, reflective products usually need some post-production: removing dust and micro-scratches, evening out a highlight, cleaning a mold seam, or blending two frames (one for the label, one for the glass edges). Retouching is $40-$60 per image, and most shiny items sit toward the more detailed end because of that cleanup. How Much Retouching Do Product Photos Need? explains the levels.
Booking a shoot for reflective products
When you fill in the Request a Shoot form, tell us:
- Which items are glass, metal, gloss-coated or mixed, and their rough sizes.
- The frames you need per item and the background (white, gray, dark or styled).
- Whether you want sparkle and drama or a clean, even catalog look.
- How many images need retouching, plus your preferred date, time and turnaround.
Product photography is quoted per project via the form. Turnaround is Standard (8 business days) or Rush (4 business days, rush fee applies). Vidd Studios is based in Covina and shoots for brands across LA County. See product photography in Los Angeles for more of our work.
Frequently asked questions
Why is it hard to photograph reflective products?
Shiny surfaces act like mirrors and show whatever is around them, including lights, the camera and the room. The set has to control what the product reflects.
How do you stop the camera showing up in a shiny product?
By changing the angle slightly, shooting through a hole in a white or black card, surrounding the product with diffusion, or removing a small reflection in retouching.
How do you photograph glass bottles?
Light them from behind or the sides so light passes through the glass, use white or black cards to draw clean edges, and shoot the label separately if needed.
Should I send more than one unit of a shiny product?
If you can, yes. Shiny items mark easily, so a spare clean unit helps for close-ups.
Do reflective products need more retouching?
Usually some, for dust, fine scratches and highlight cleanup. Tell us how many images you need retouched so we can include it in your quote.